Install VCSA 6.7
VMWare has an elaborate guide to installing vCenter Server Appliance 6.7, for a small lab setting I have condensed this into a few pages containing mostly pictures. Ensure you meet the minimum system requirements; 2 vCPUs, 10GB of memory, and 250GB of disk space. I have thin provisioned the disks in this tutorial and installed on a 120GB disk I picked up off of Amazon on sale.
Step 1: Load the autoinstaller
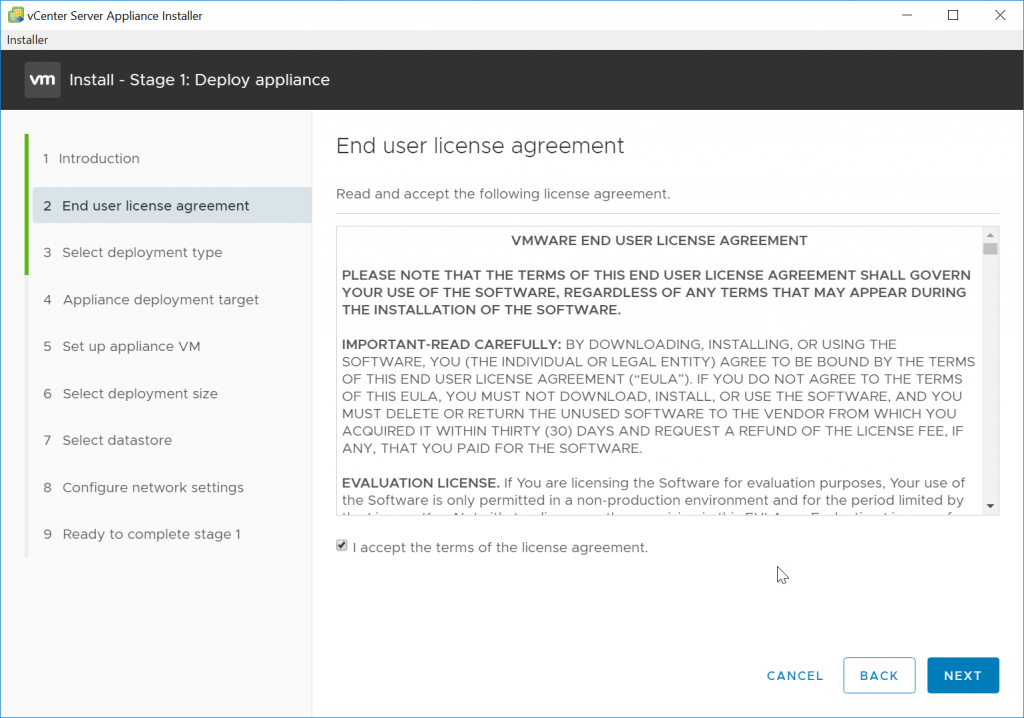
Step 2: Read over the EULA, check the box if you agree, then click next.
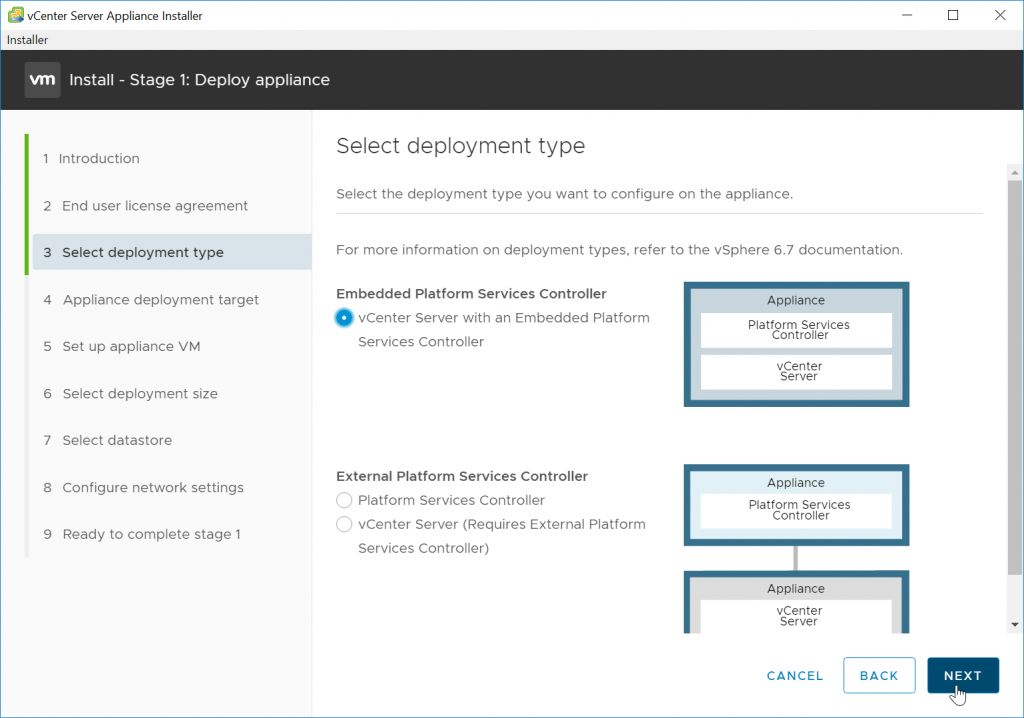
Step 3: I chose the embedded Platform Service Controller (PSC), this simplifies the set up for the purpose of this tutorial.
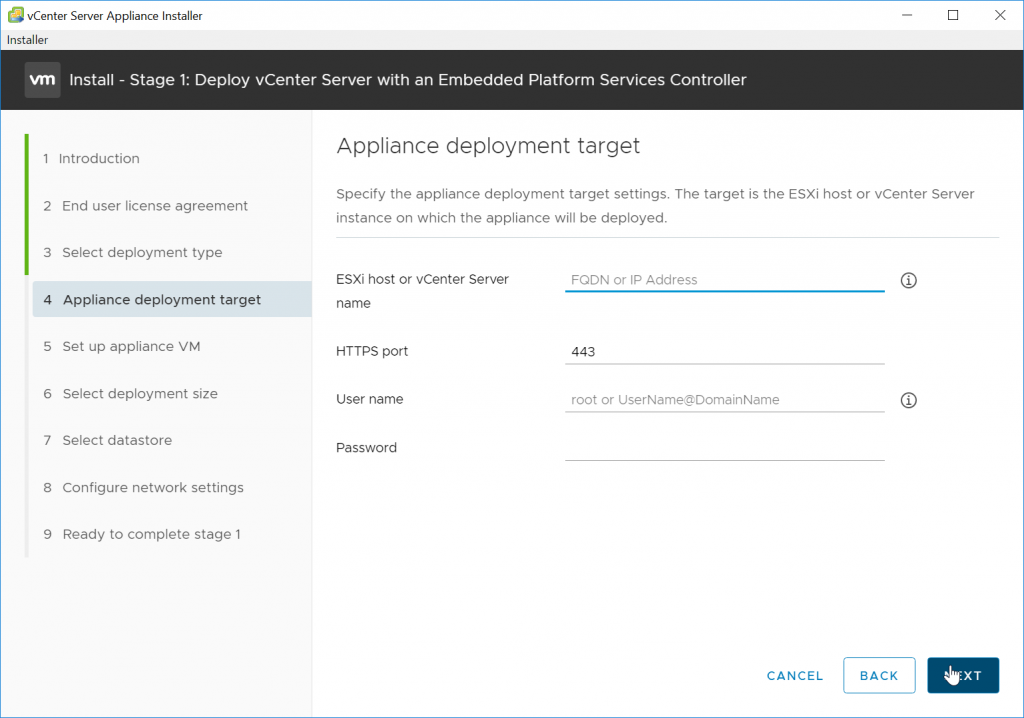
Step 4: Type in your target ESXi’s IP address, username, and password. I used the root account in this case as I had not created any other accounts yet.
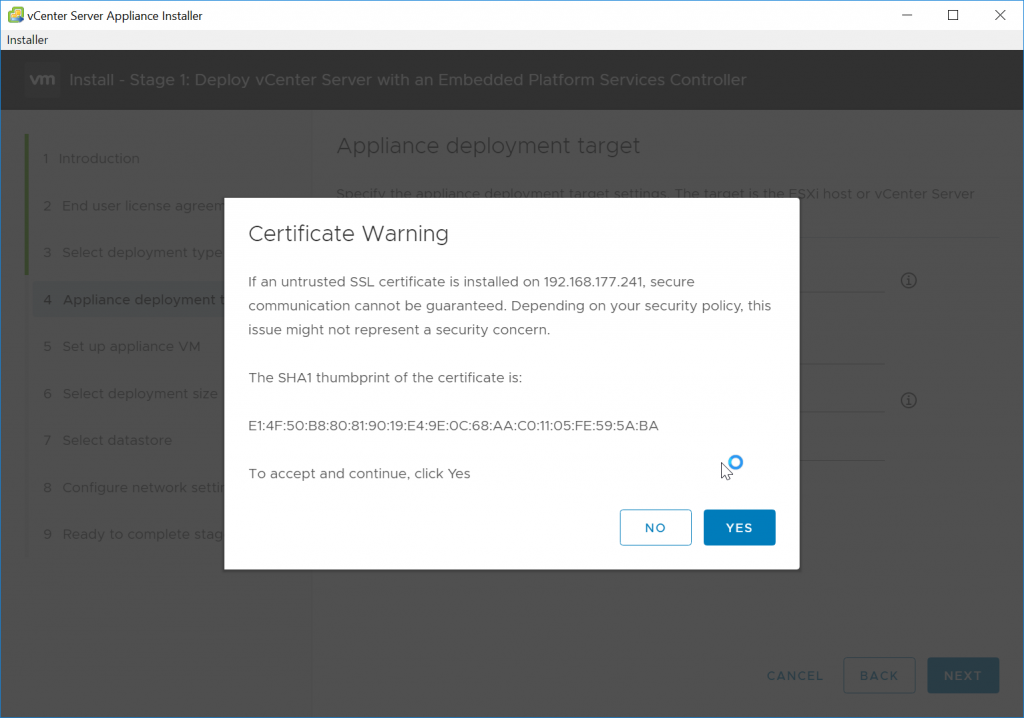
Step 5: It is going to warn you about the certificate, click yes to move on from this.
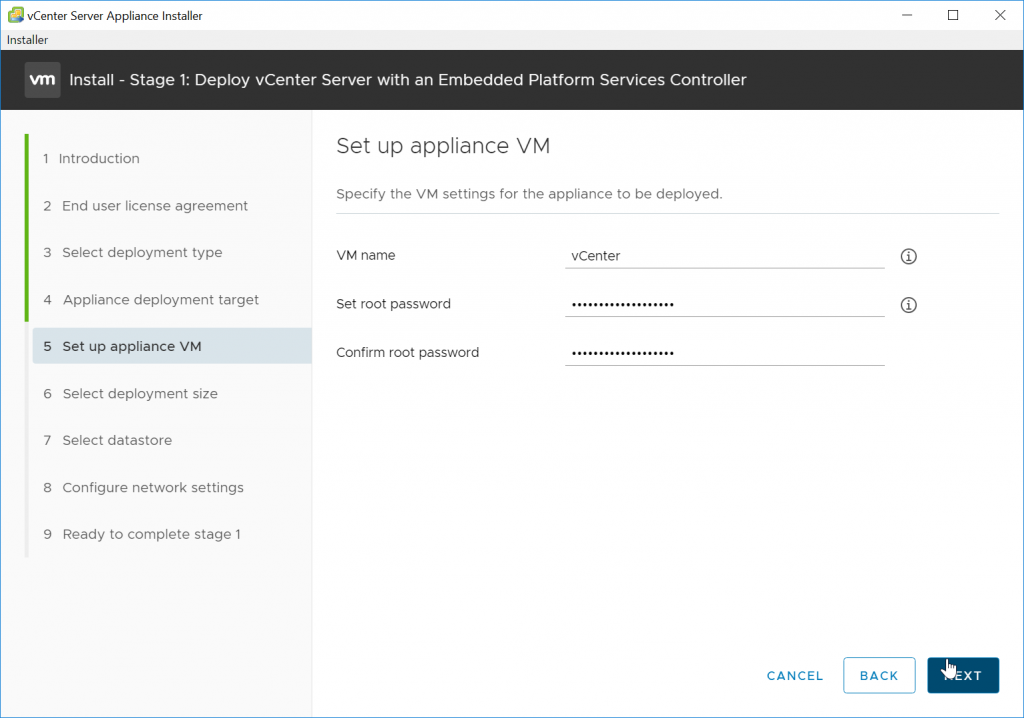
Step 6: Give the Virtual Machine a name and a root password.
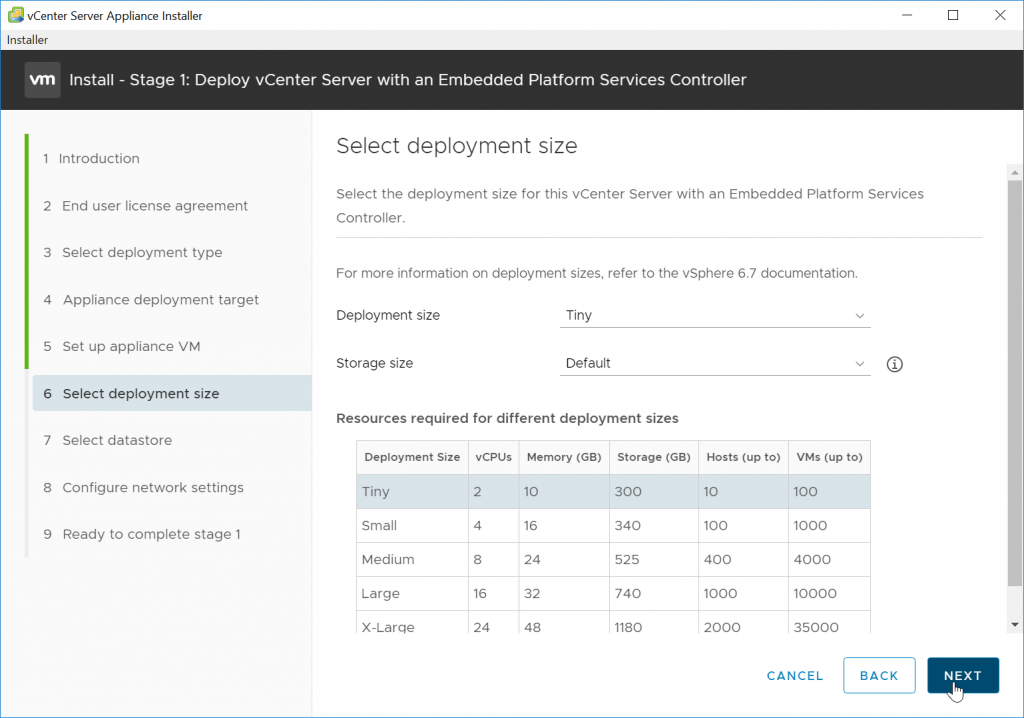
Step 7: For the vast majority of labs a Tiny deployment size will suffice. In my case I will only run a handful of VM’s for testing in this environment.
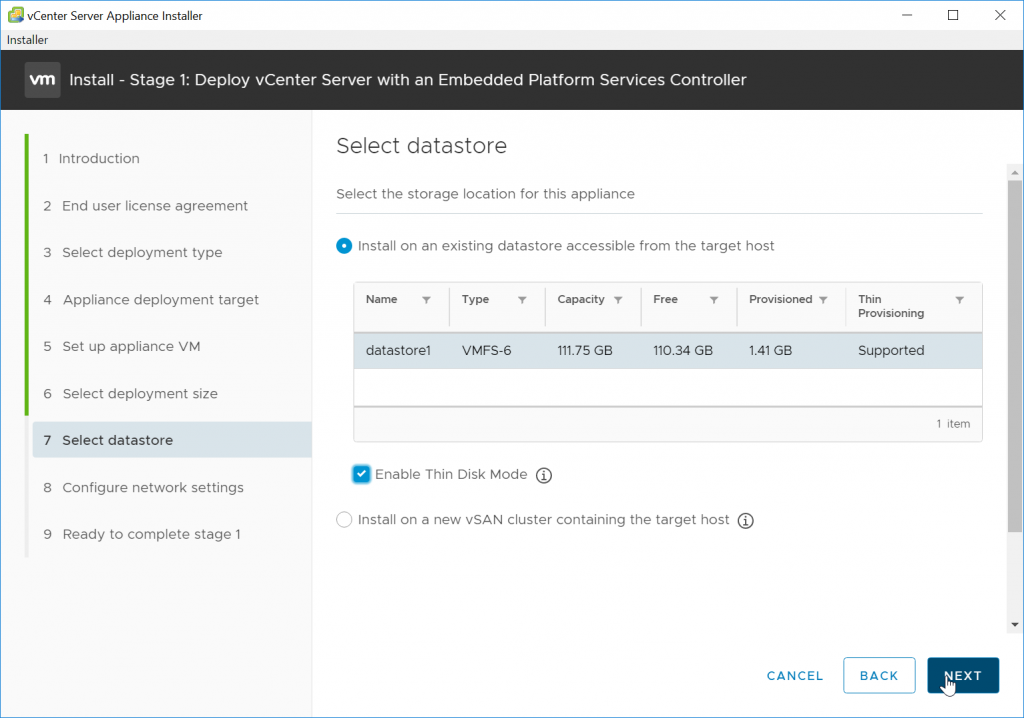
Step 8: Select the datastore, if you are short on space like I was, click on “Enable Thin Disk Mode”, then click Next.
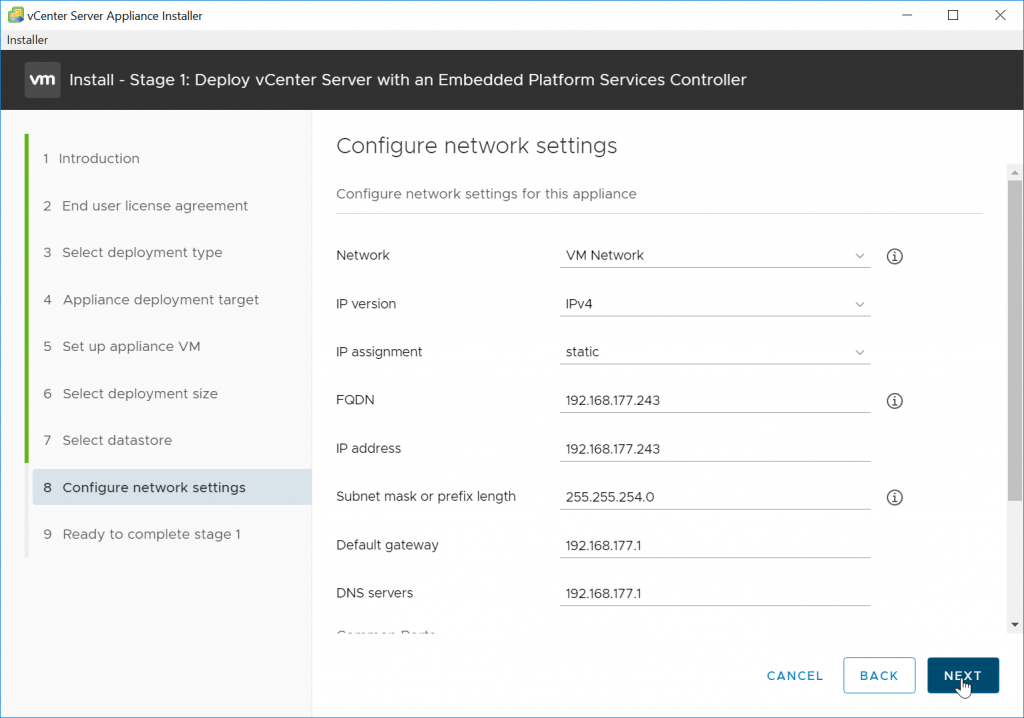
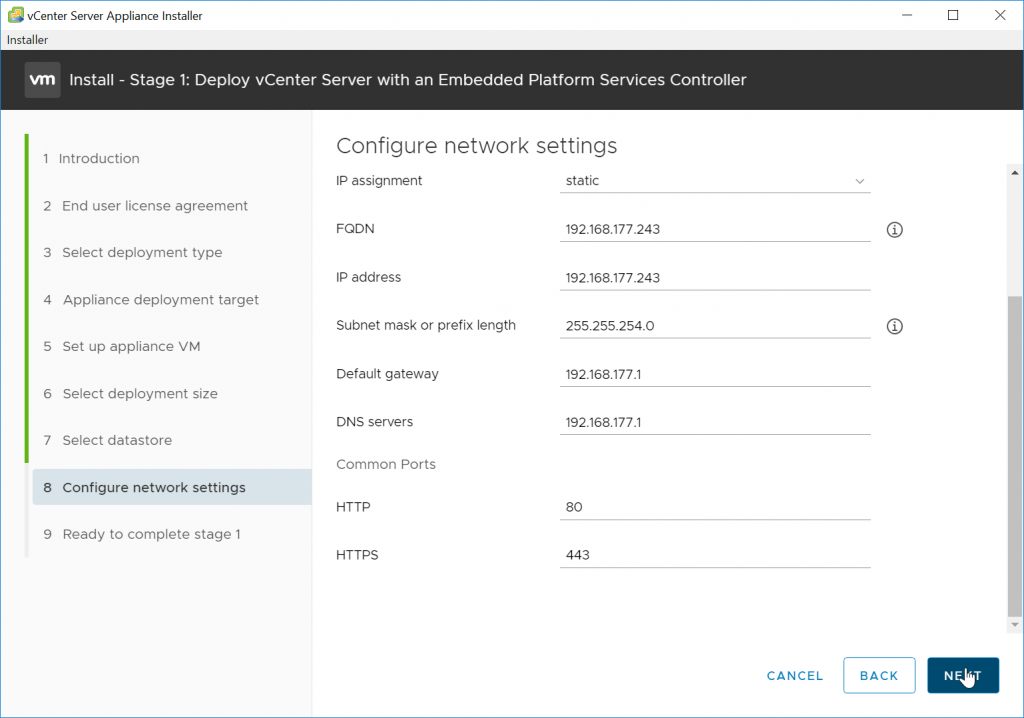
Step 9: Fill in all of the required fields as needed. I left common ports alone, in most instances it is not necessary to change these. Once done click next.
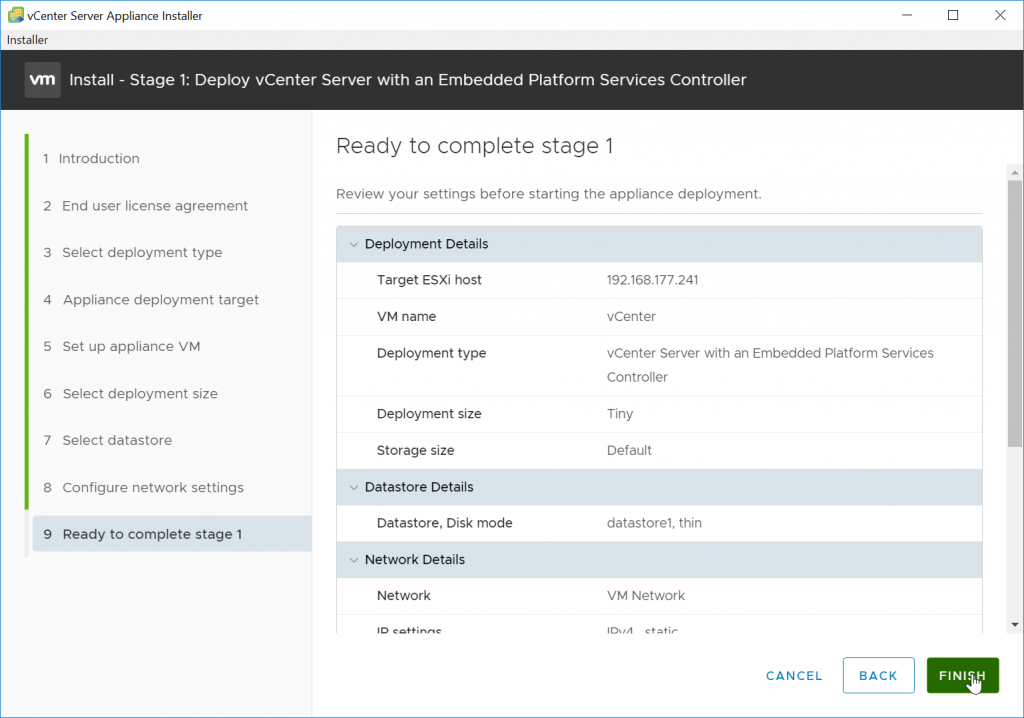
Step 10: Validate everything and click finish. The install will take off at this point, it took me about 15 minutes before it was done.
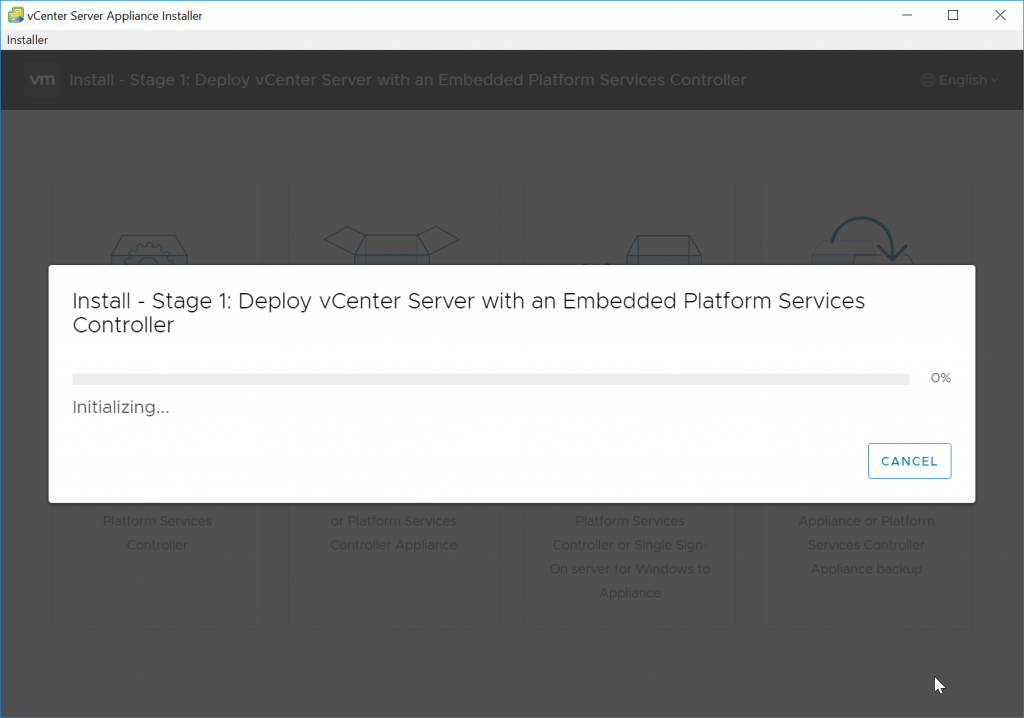
The install will look like the below screenshot.
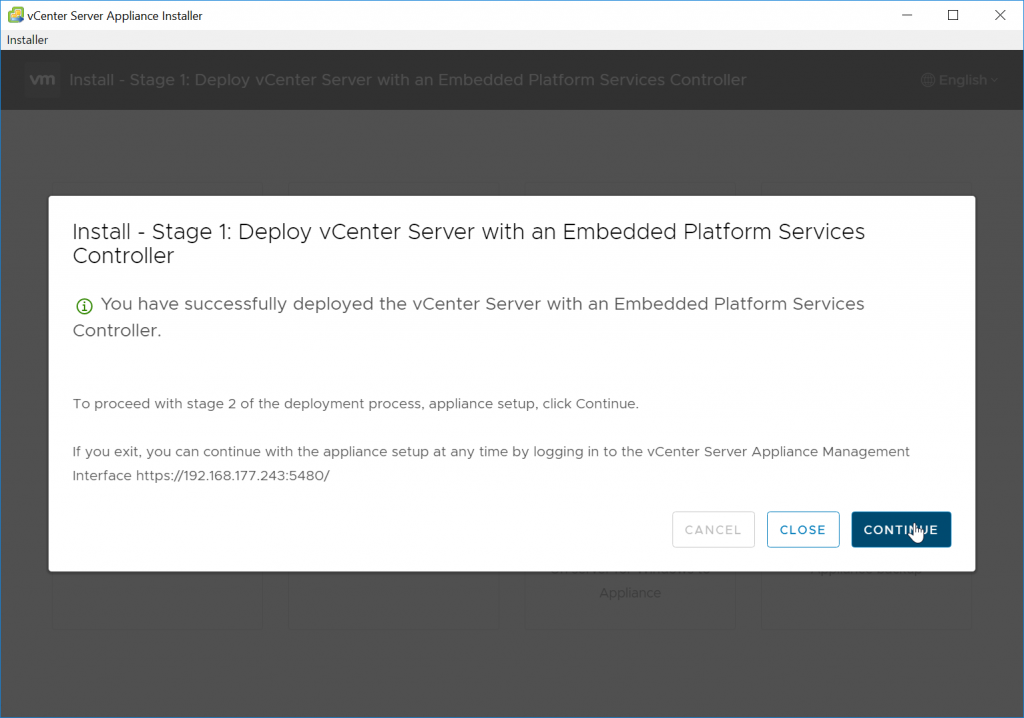
Once done you will be greeted with the following. At this point the actual VM is installed, but some configuration work remains, click on Continue.
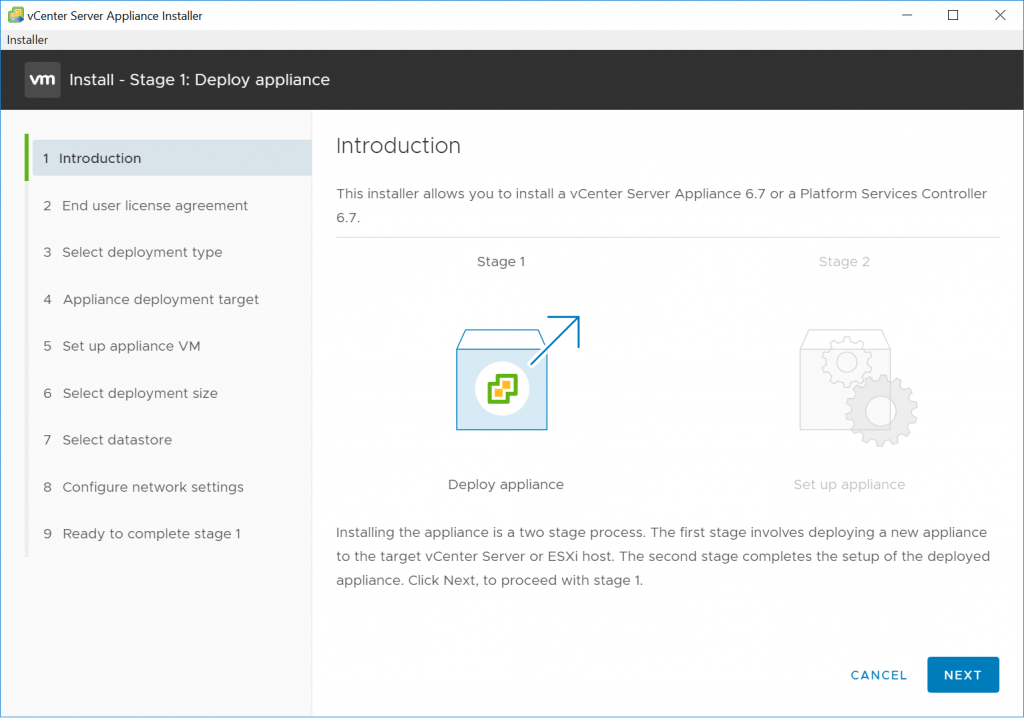
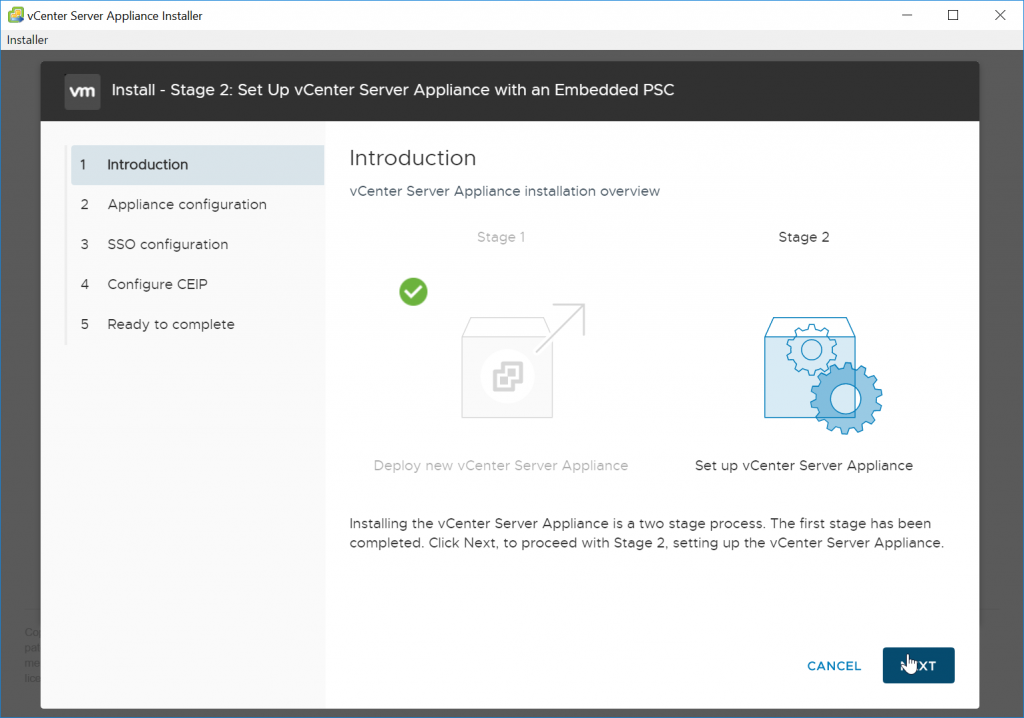
Step 11: On the intro click Next.
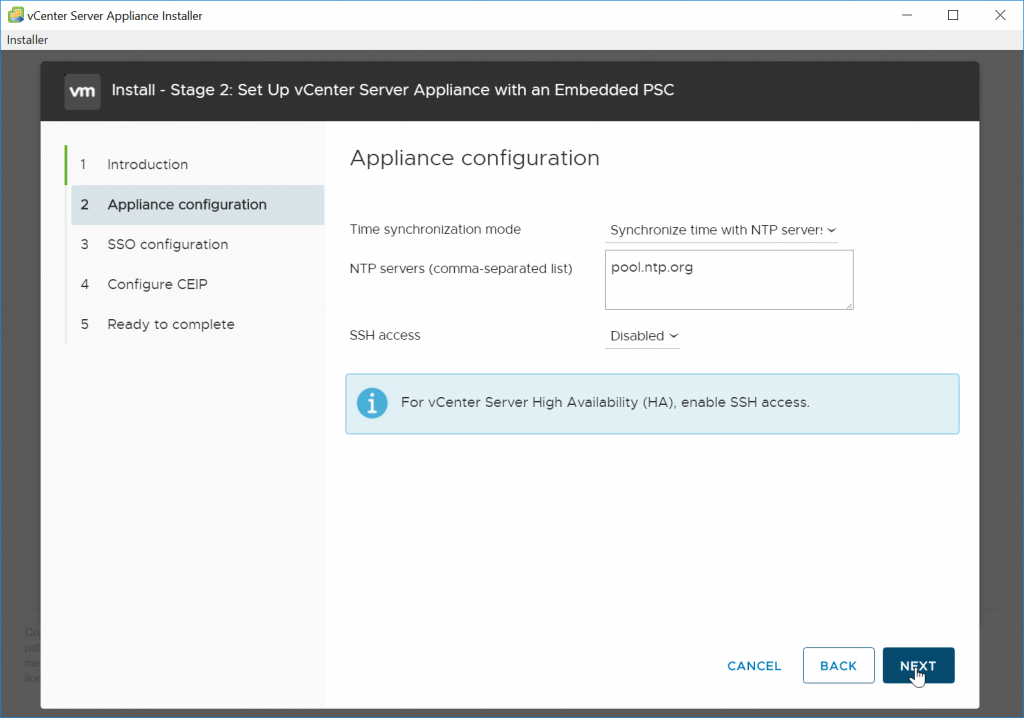
Step 12: Configure Time settings, I use “pool.ntp.org” for obtaining the time. Your organization may have a different preference or requirement.
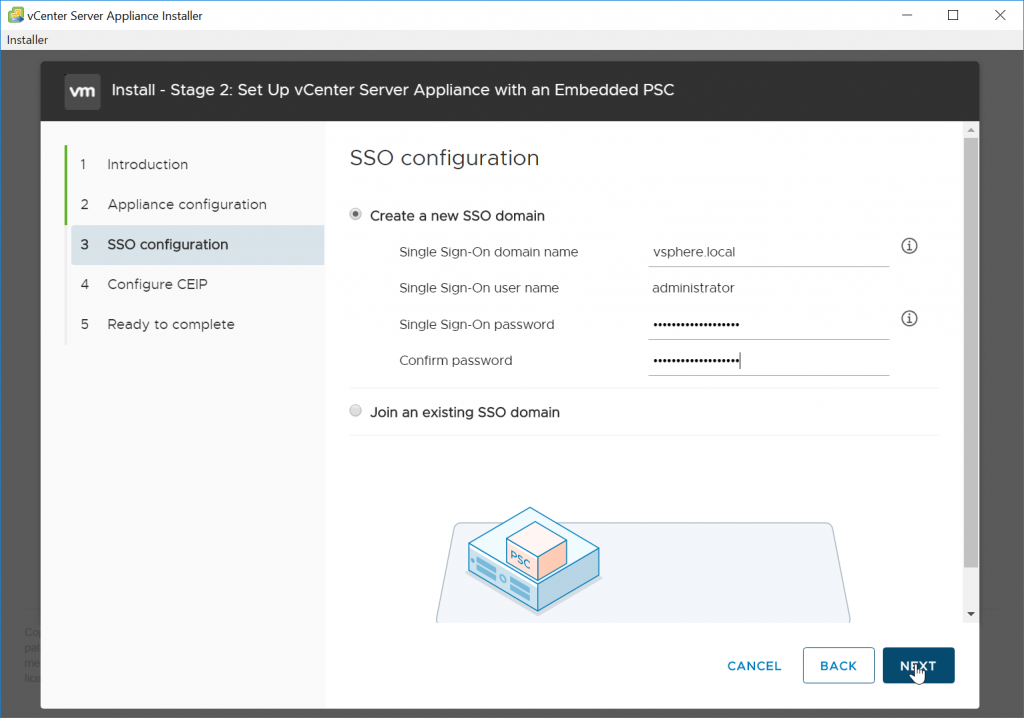
Step 13: Configure the SSO Domain name, I use “vsphere.local” and set the password.
Step 14: Customer Experience Improvement Program (CEIP), this is really at your discretion and your organizations. Read through it and make a determination then click next.

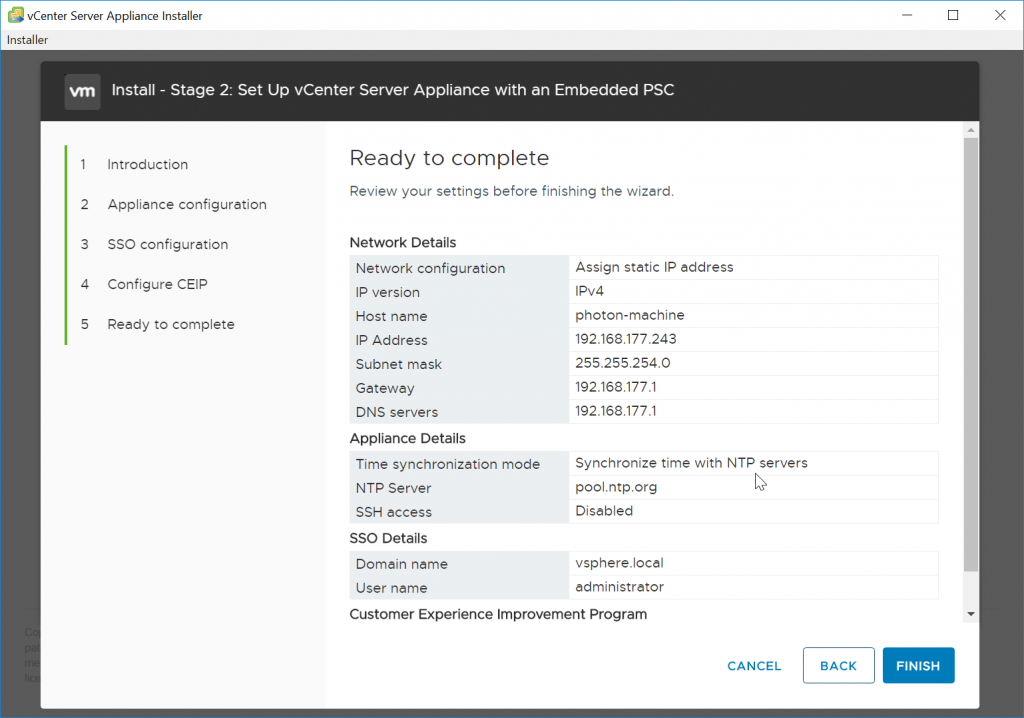
Step 15: Review the configuration settings and click finish if they all look good.
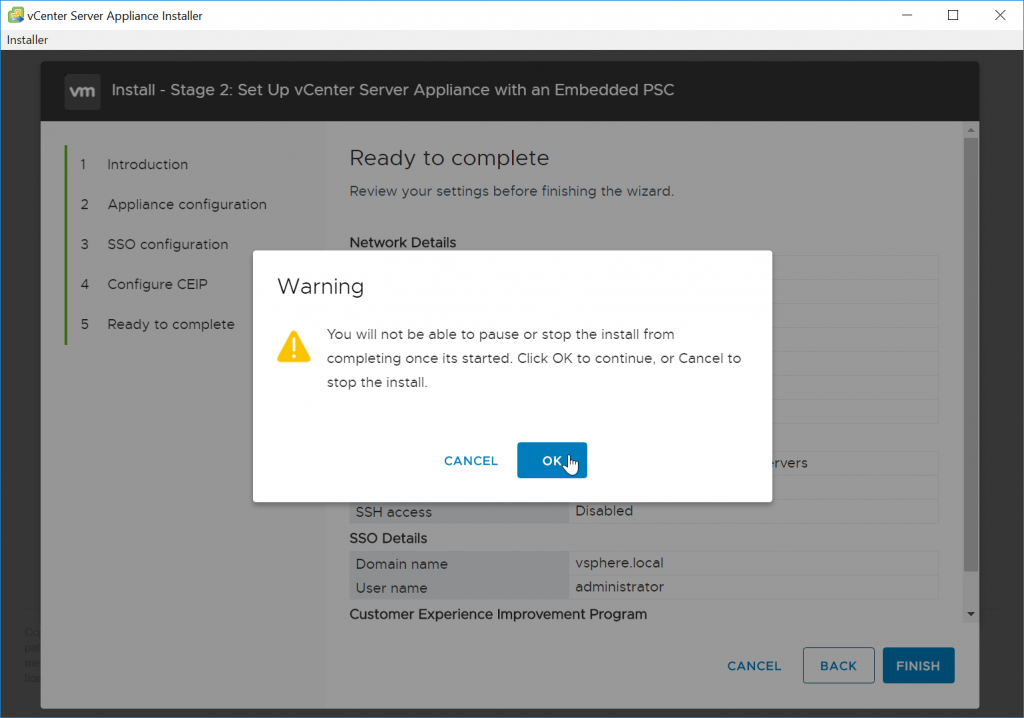
VMWare will warn you about not being able to pause or stop the install from completing once started. Click on Ok.
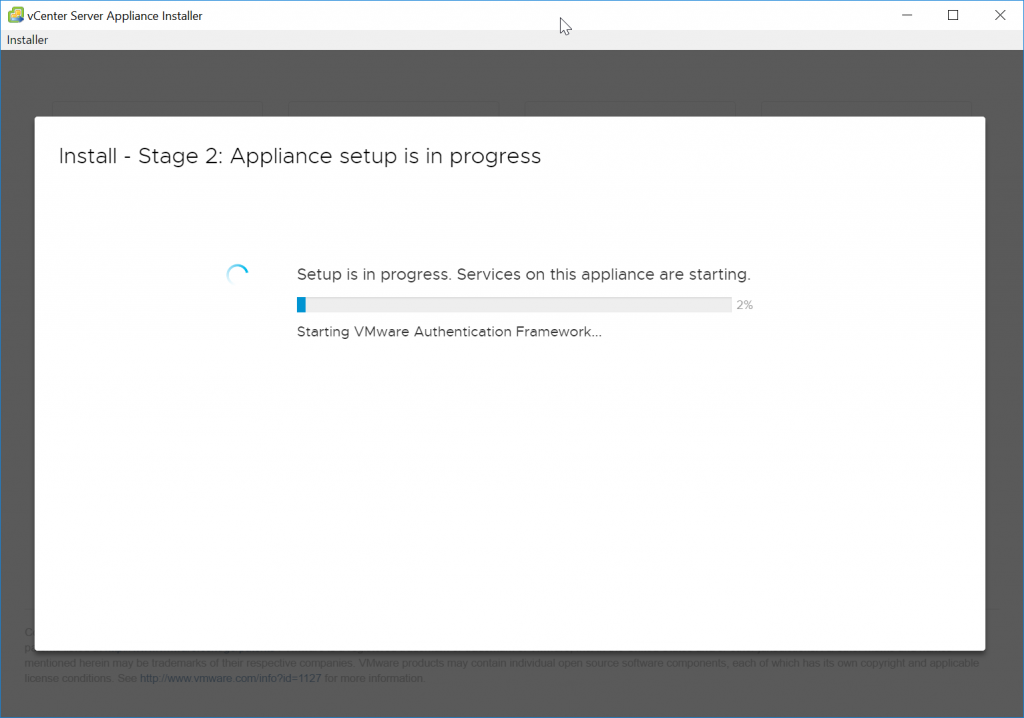
At this point the appliance setup will occur, it will look like the below and take about 20-30 more minutes. When the install gets to about 26% it might prompt you for the password to the root account. In my case it citied that it timed out.
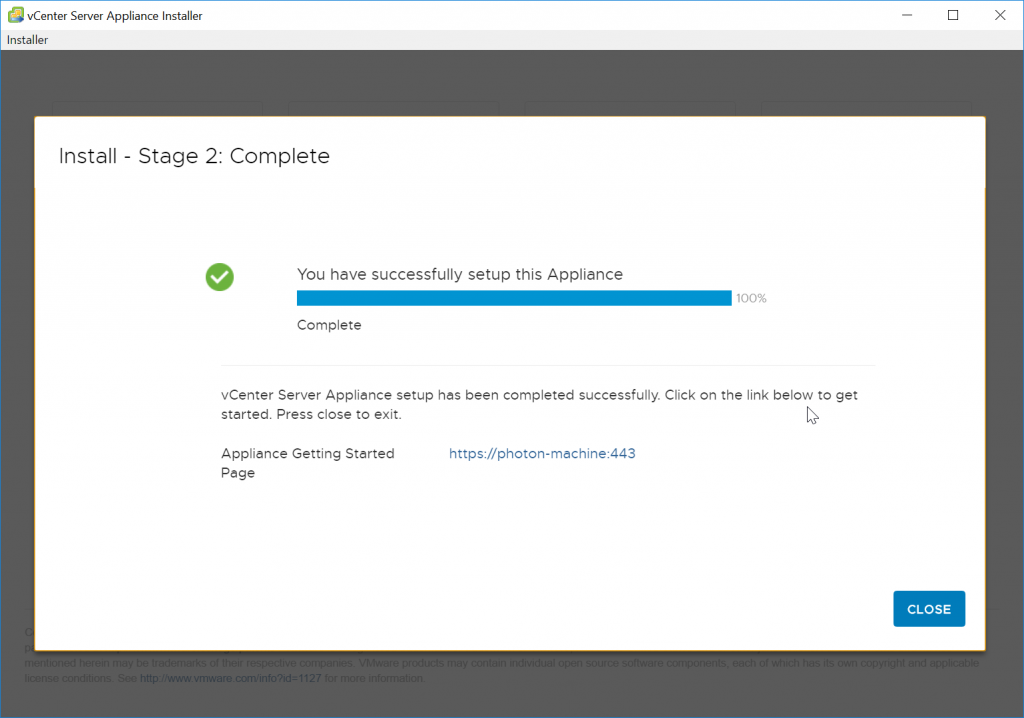
Once complete the install will show the below window, click close and access the VCSA.