AWS IAM – Creating Users with Limited Rights
In the past few tutorials I have shown you how to do some basic things with AWS. It is my guess that a few people have used their AWS root user account to perform some of these things. While functional, this is against best practices. When performing the tutorials or modifying them to suit your environment it is vital to create an IAM user and assign it the least amount of privileges needed to perform the role. Similar to what you would delegate one of your employees. Amazon provides great documentation highlighting the best practices available here.
Below I will provide one example on how to create an IAM user and group. The group will have.
Creating the Group
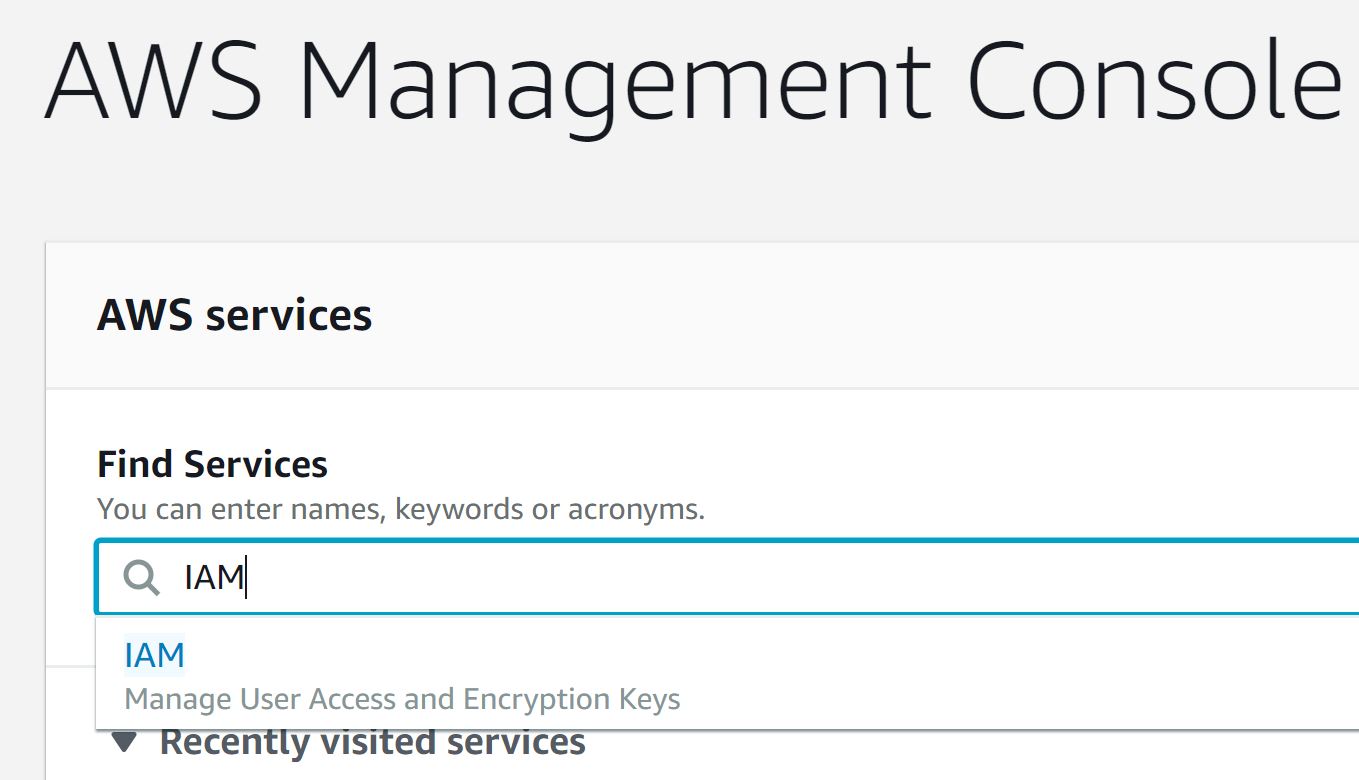
- Sign into the AWS Console, under services
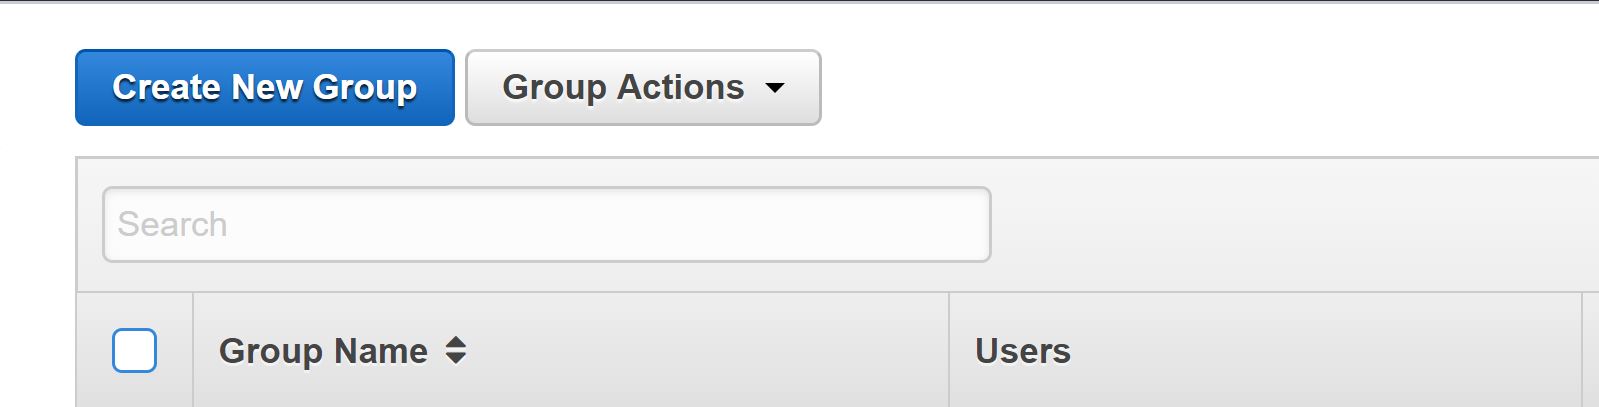
- Next click on “Groups”.
- Then click on “Create New Group”.
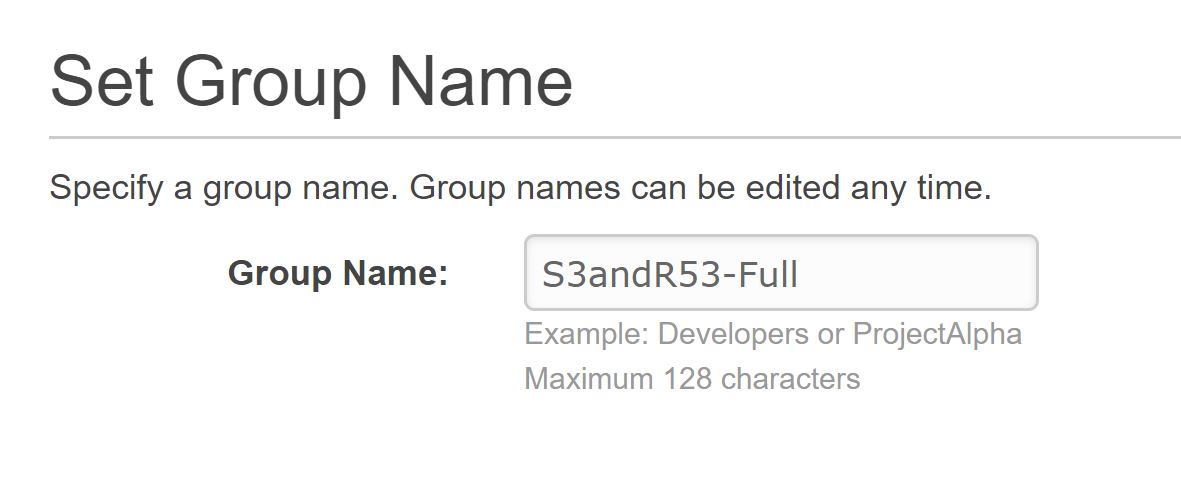
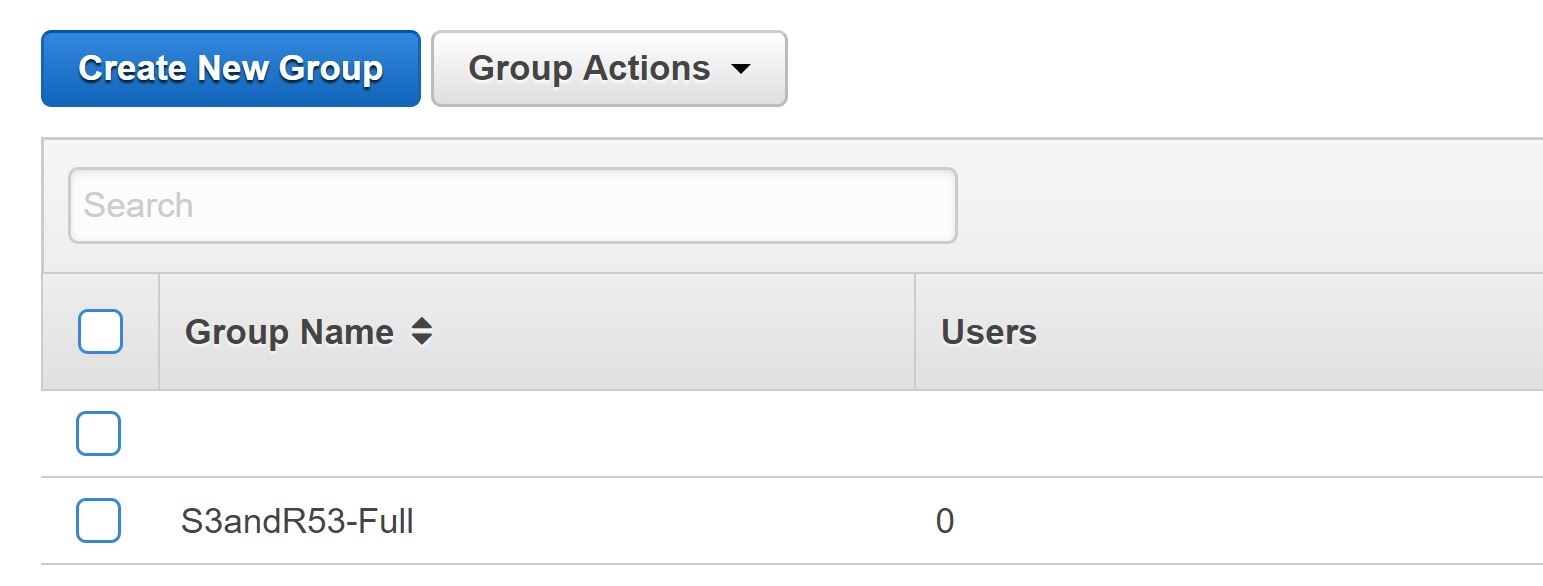
- Give the group a name and click “Next Step”. In this example I will create one called “S3andR53-Full”. I always suggest giving a meaningful name that you or an employee could easily identify and know what the group is for quickly.
- Under “Attach Policy” search for “AmazonRoute53FullAccess”, check the box next to it. Do the same again for “AmazonS3FullAccess”, also check the box next to it. The final result should look like the below picture. Then click “Next Step.”
Before: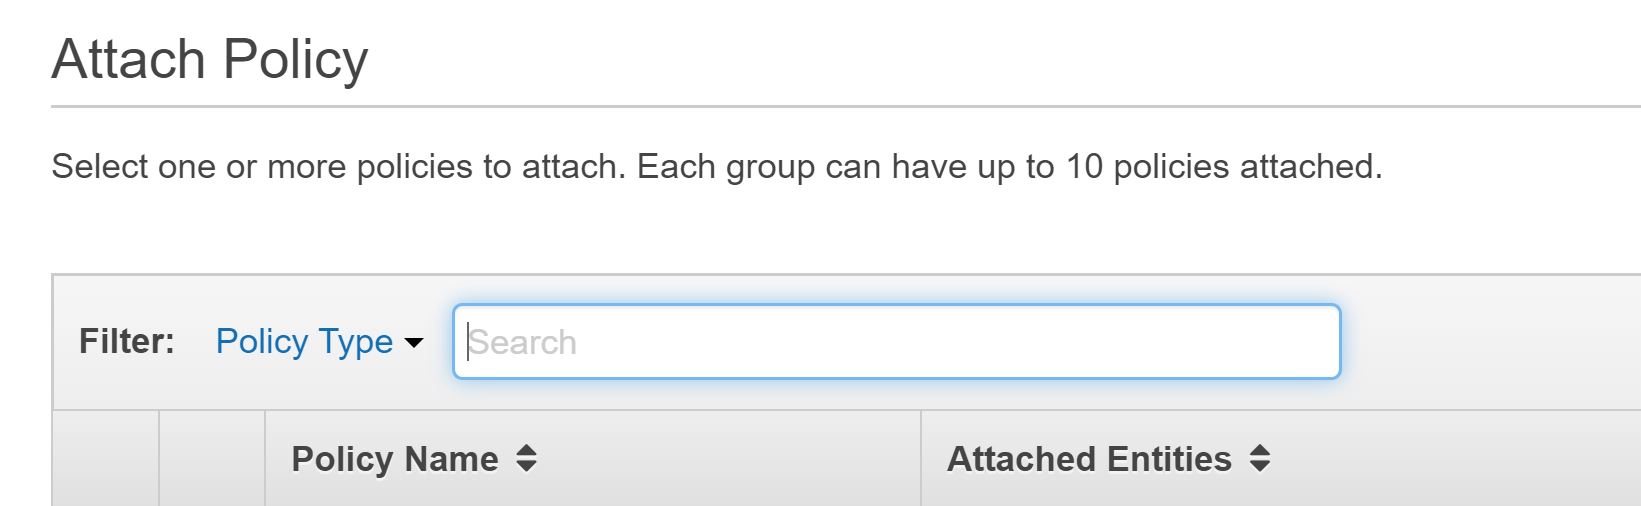
After: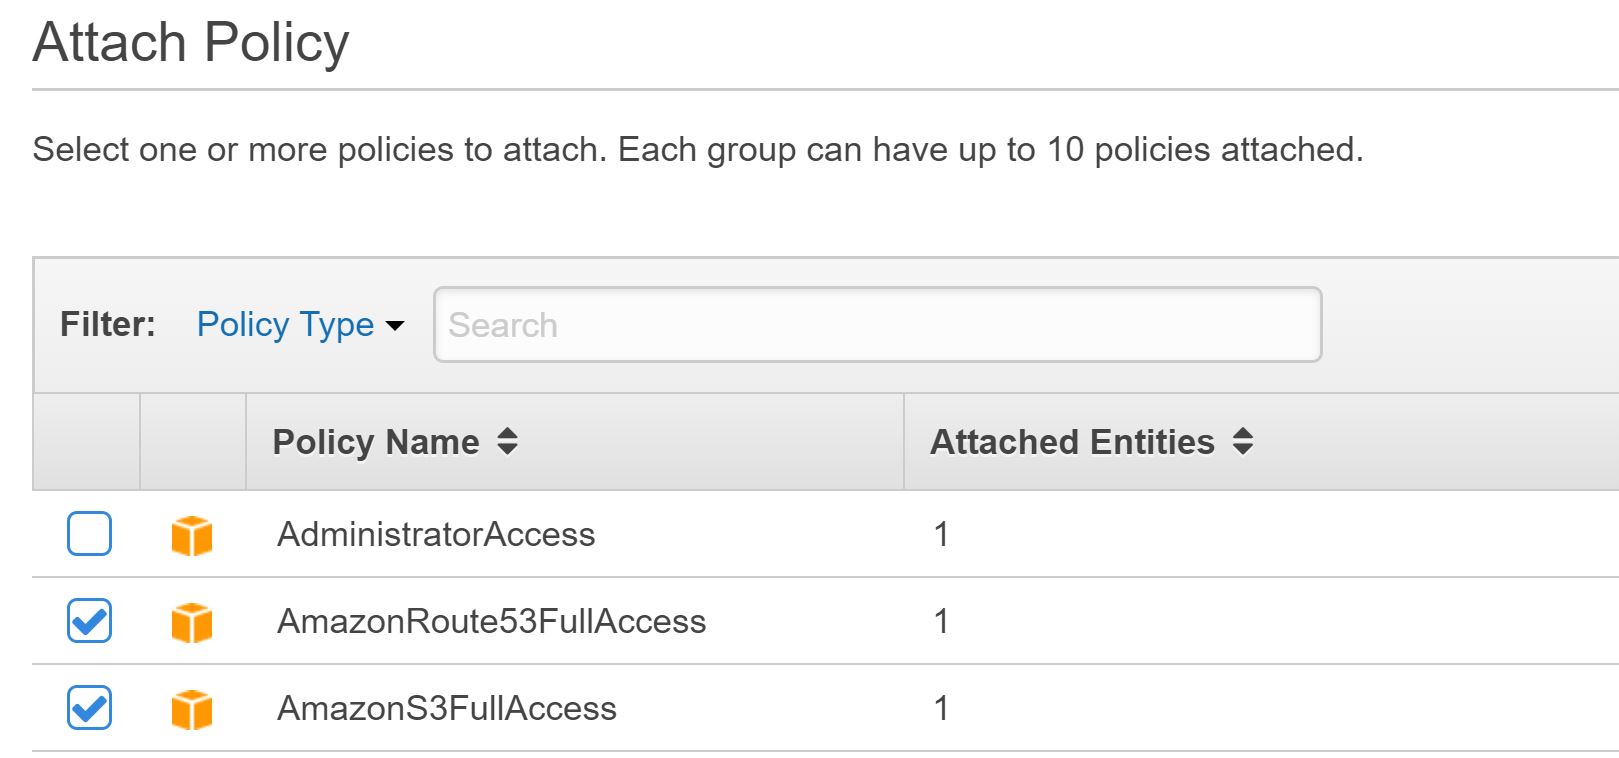
- Under review, ensure that both policies are present. Then click on “Create Group”.

- You will be taken back to the groups page and you should see your new group there. You will probably notice that it has 0 users attached to it. In the next part of this tutorial we will detail creating a user and adding them to the group.
Creating the User
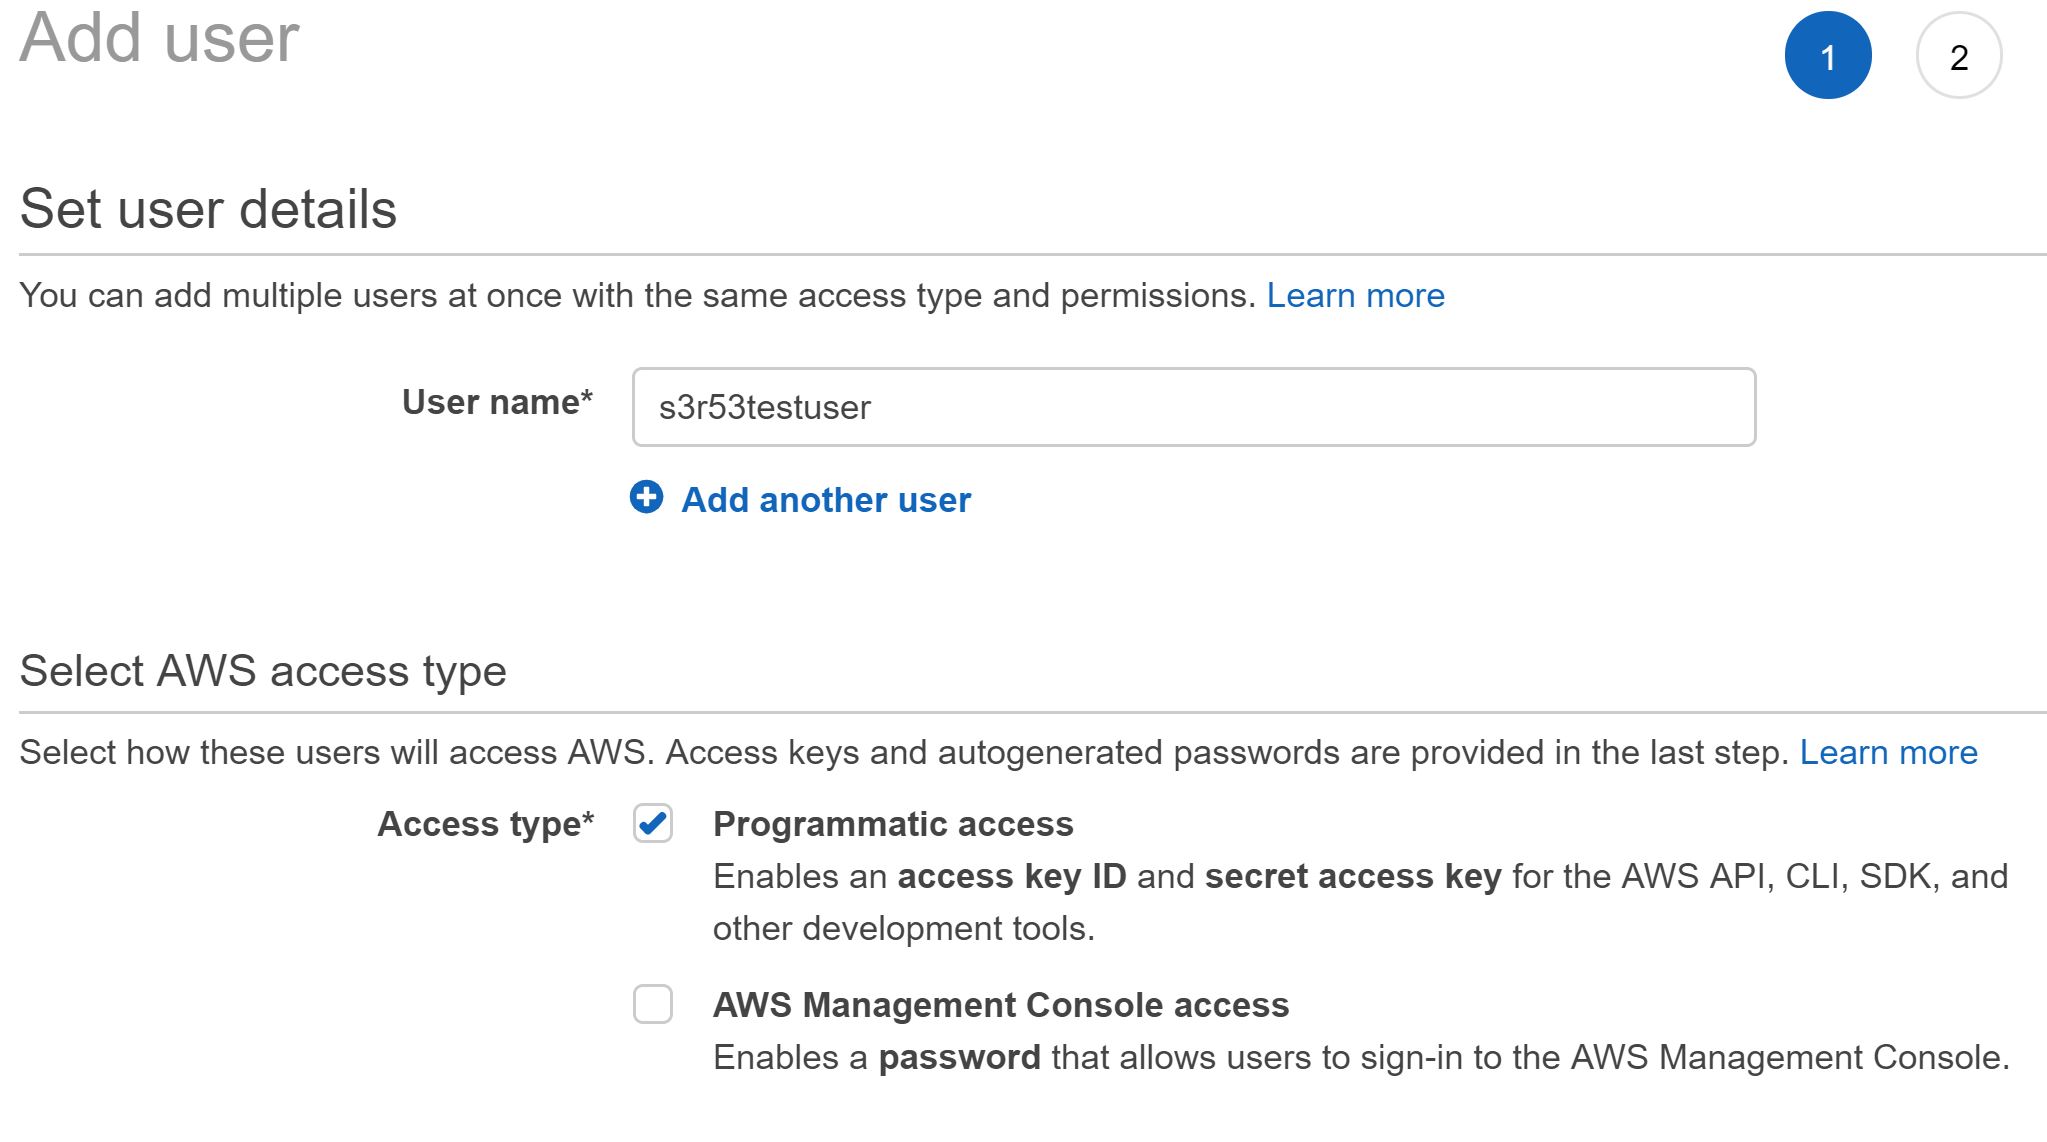
- Click on “Users”, then click on “Add user”.
- Next to “User name” type in the desired username. In our example we used “s3r53testuser”. Then for “Access type”, we are only giving the user “access key ID and secret access key for the AWS API, CLI, SDK, and other development tools”. This will NOT allow them to sign into the console, it also helps with providing the least privliages they will need. If you are using this accounts for CLI only, this will suffice. Then click on “Next: Permissions”.
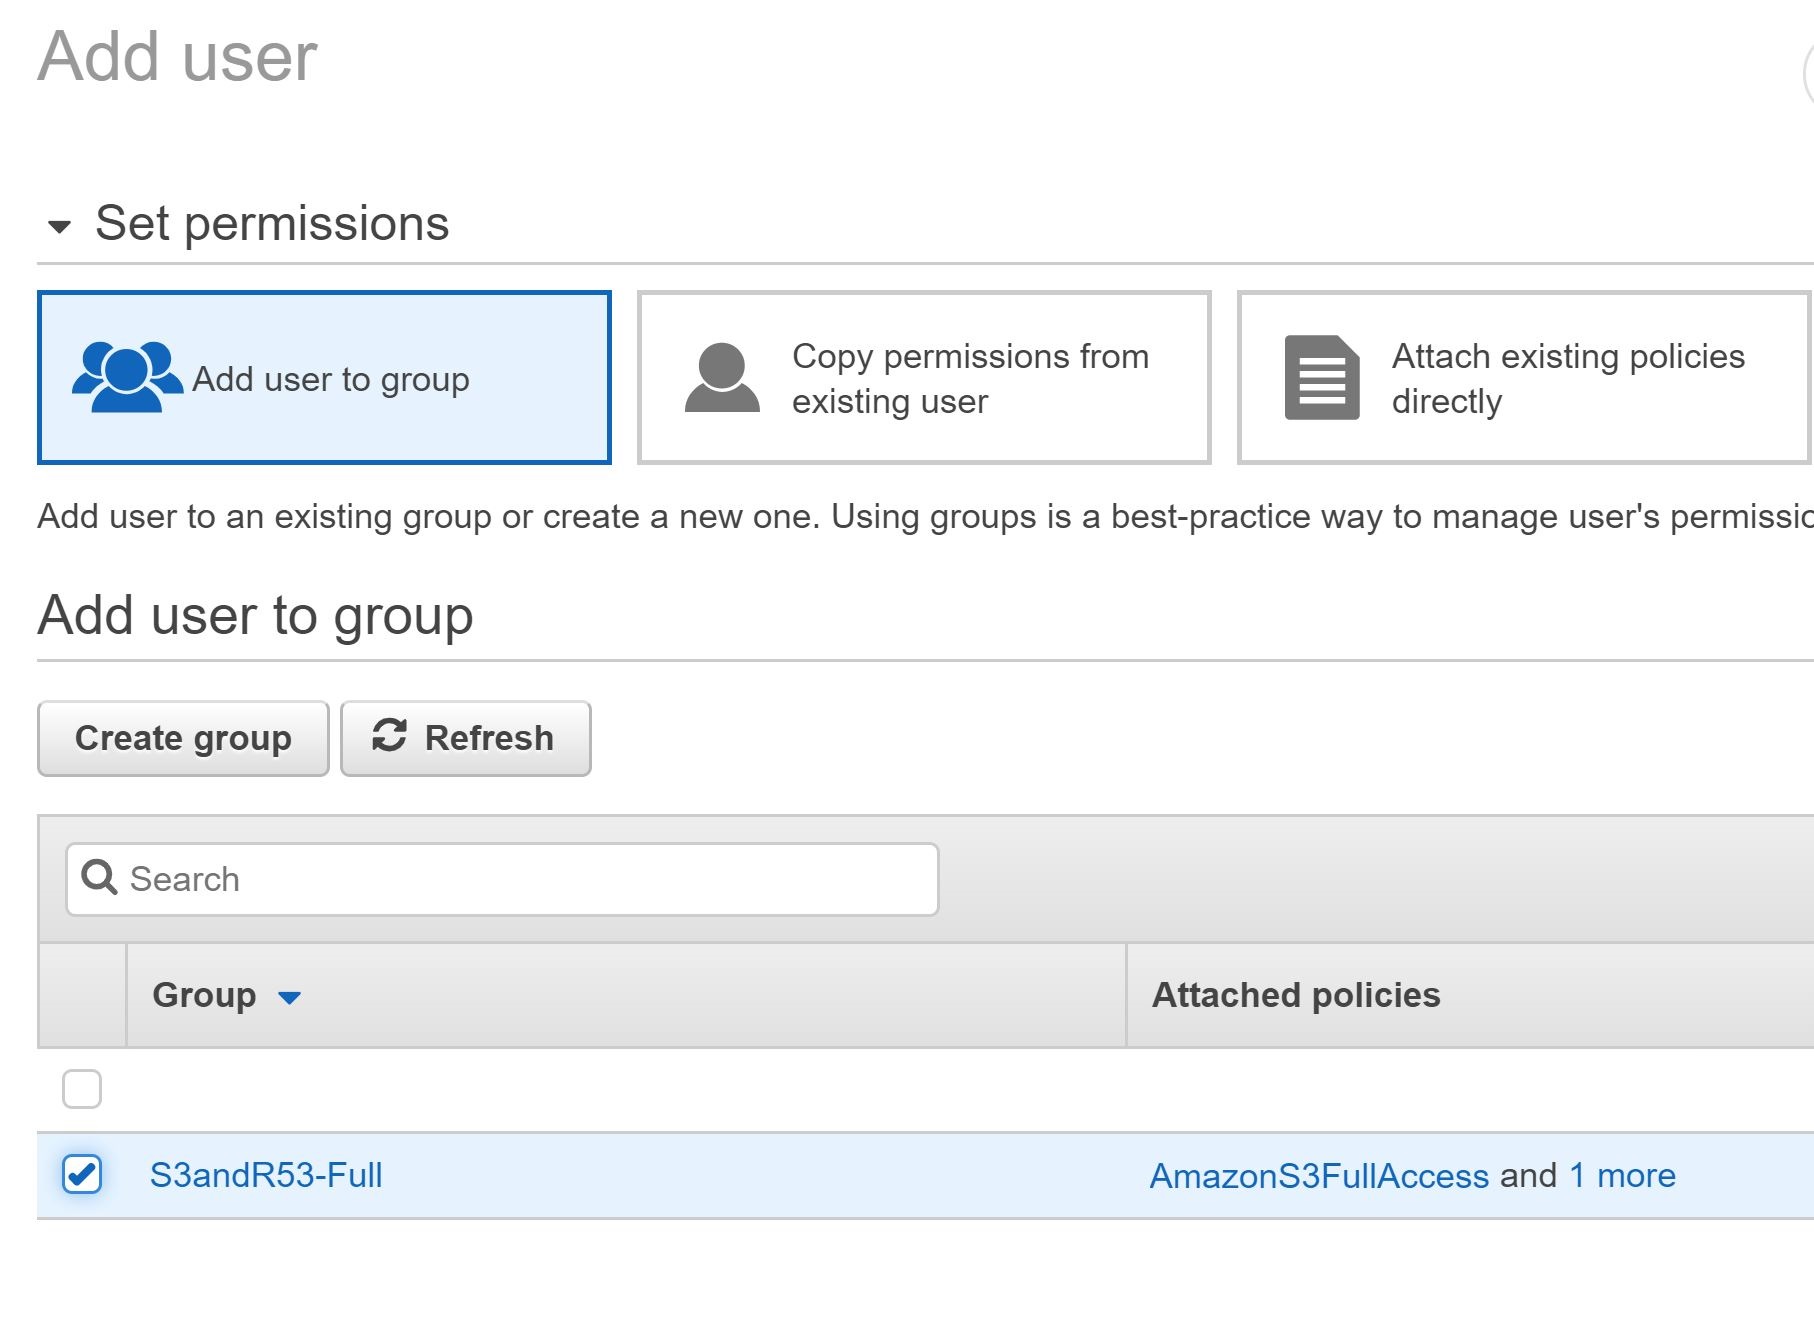
- Under “Add user to group” check the box next to the group you created. Then click “Next: Tags”.
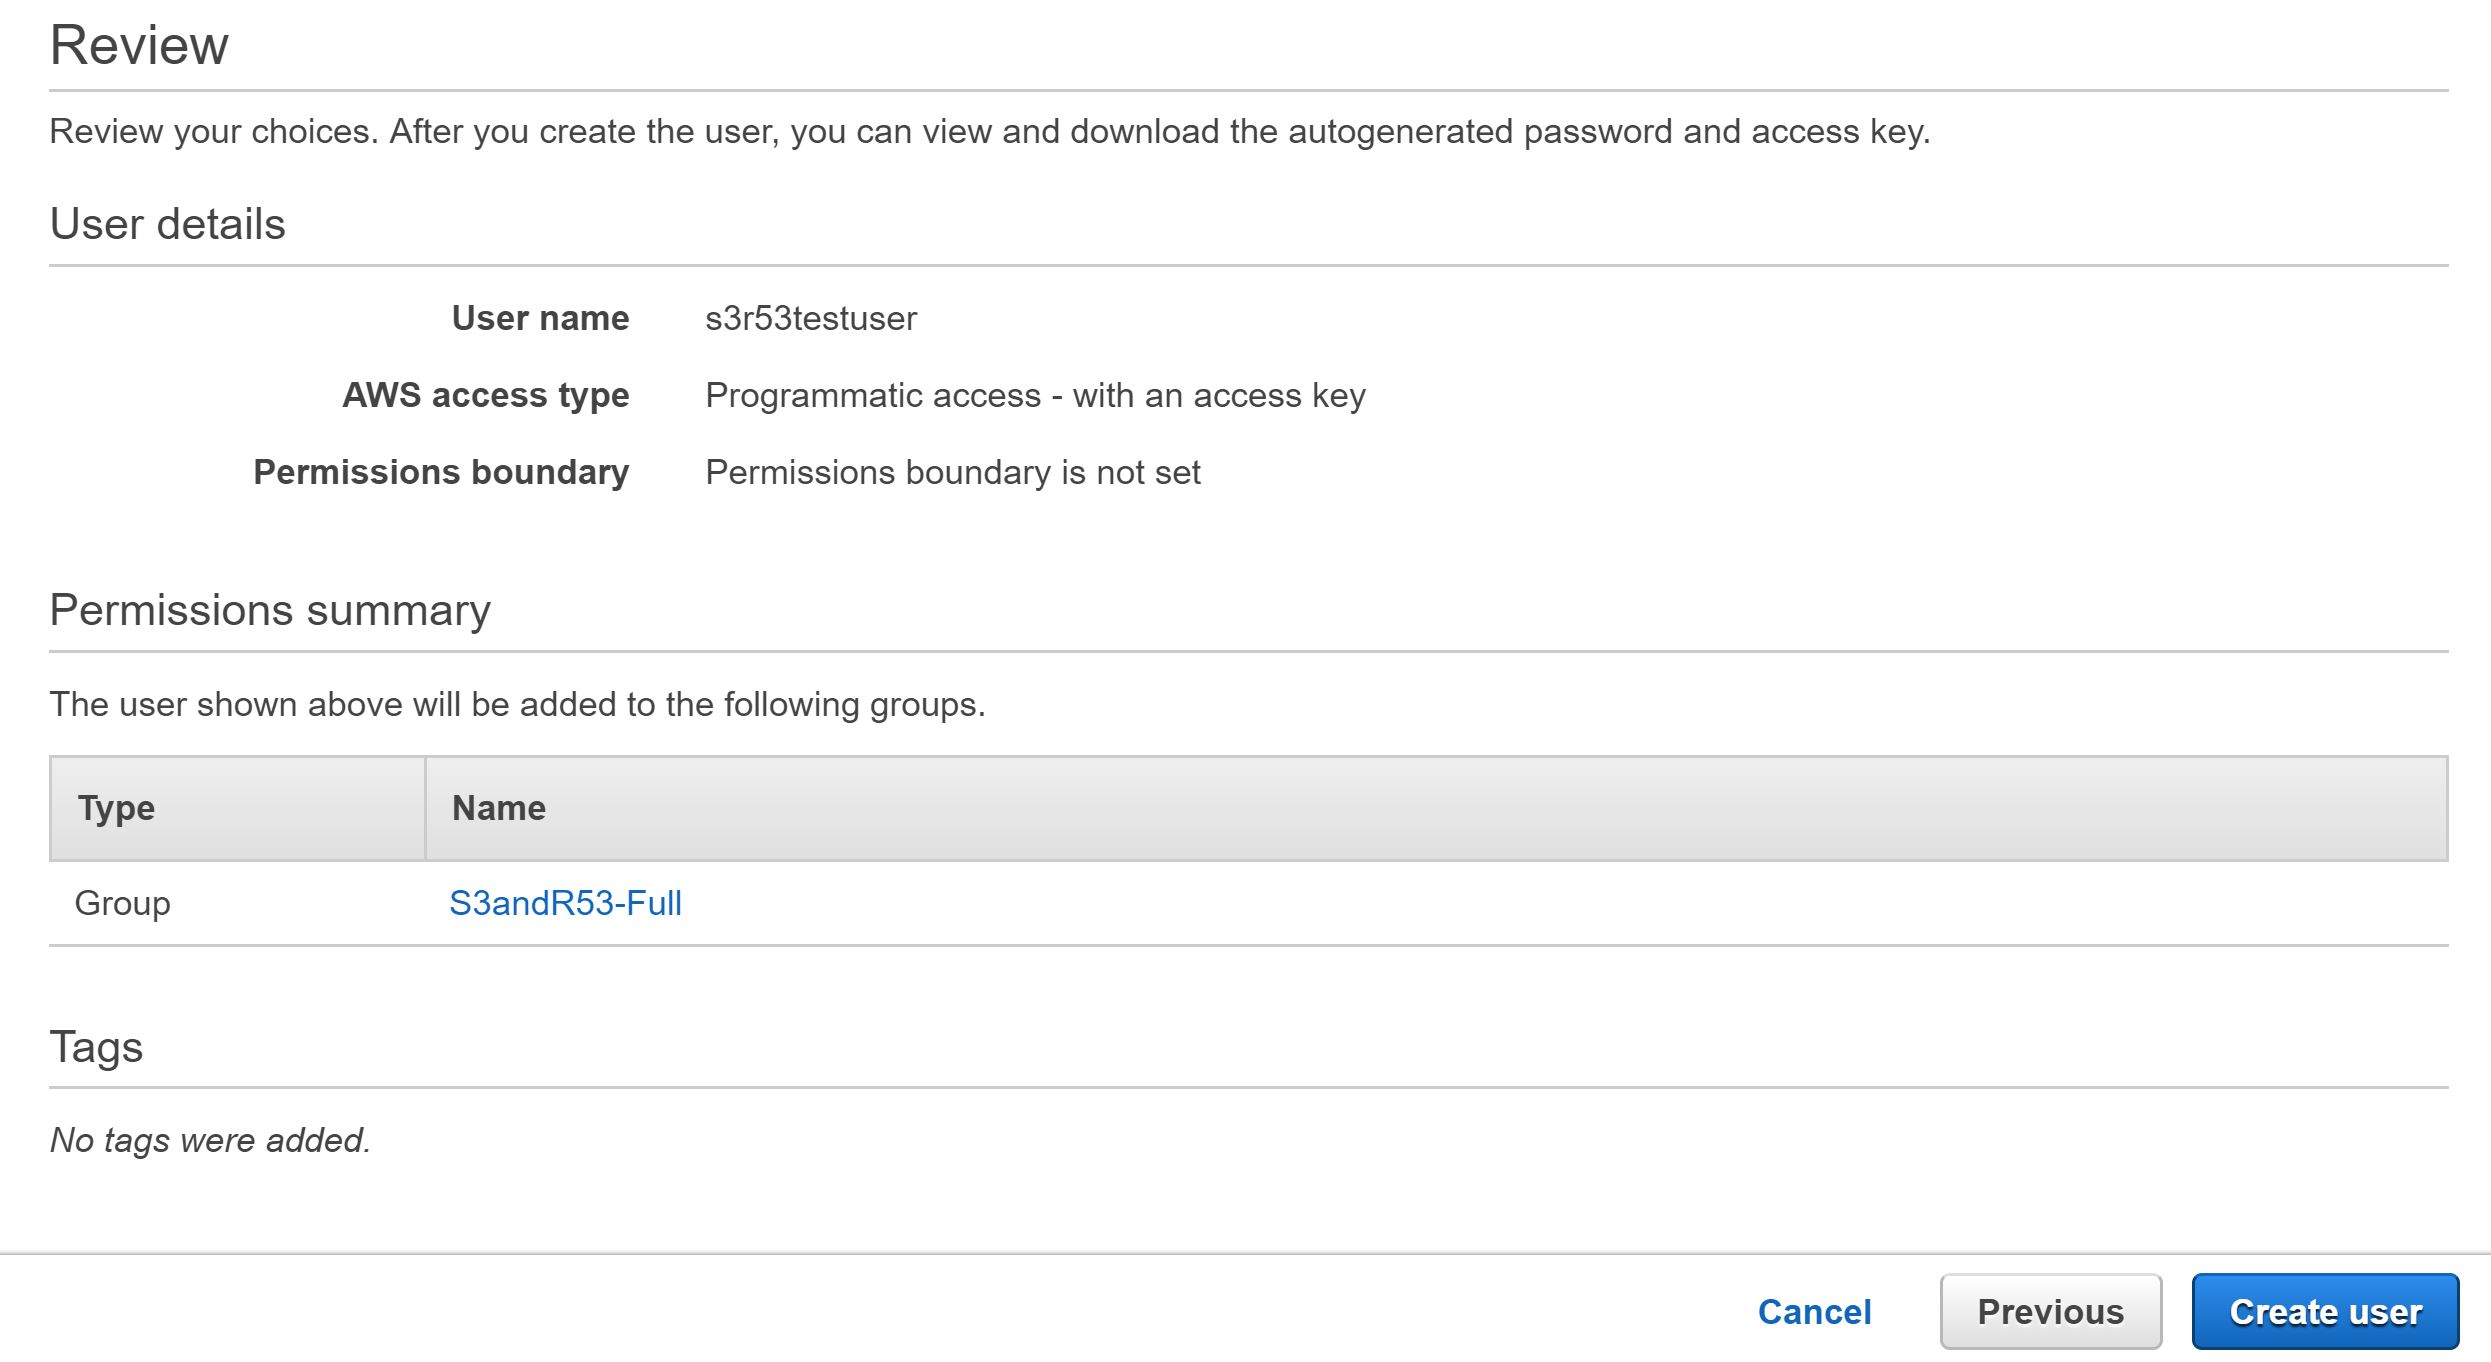
- Click on “Next: Review”. If everything looks good click on “Create user.”
- You will be presented the Access key ID and Secret access key for the user, make note of these as you will need it for CLI access. Remember to rotate these often!
