PEM Files and Putty
When you stand up an instance on AWS you are presented with a PEM file as the key for SSH into your newly stood up instance. This doesn’t directly work in Putty when you want to connect, but converting it into a format that works with Putty is very easy. If you only have Putty, you will need to also get PuTTYgen. I personally just got the whole installer, it is available here.
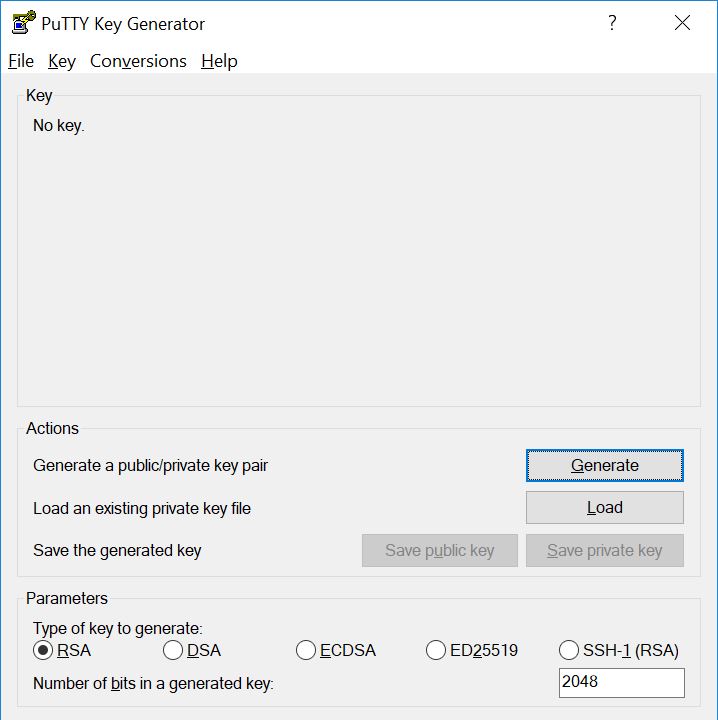
- Once obtained and installed, open up PuTTYgen.
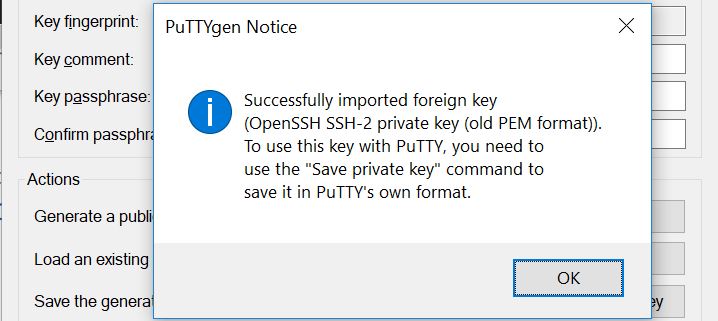
- Click “Load”, and change the file types to “All Files (.)” and open your PEM file.

- It will notify you that it successfully imported the foreign key, click “OK”.
- Under “Parameters”, ensure “RSA” is selected, and the “Number of bits in a generated key:” says 2048.
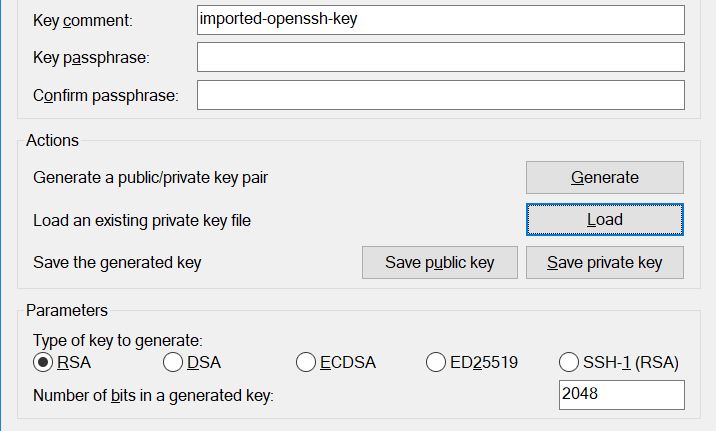
- Then click “Save Private Key”. It will prompt you that you do not have a passphrase, click “Yes”.
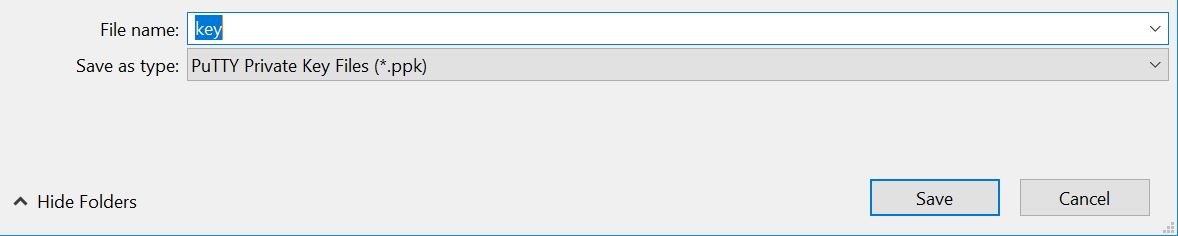
- Select the location, name it, and save it. At this point you now have a Putty compatible key.
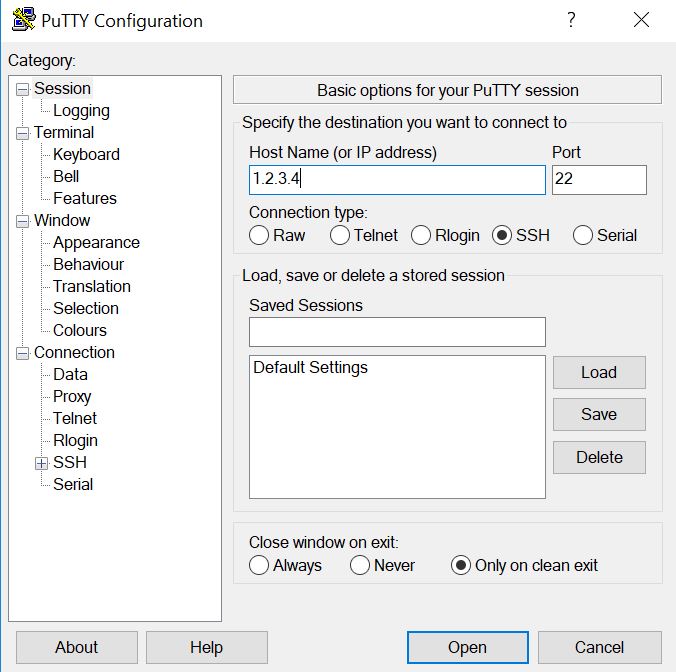
- Connecting with Putty is the next step, open Putty.
- Type in the IP or hostname of the instance you want to connect to.
- On the left, under Connection and SSH, click on “Auth”. Under “Private key file for authentication” click “Browse” and locate the PPK key file.
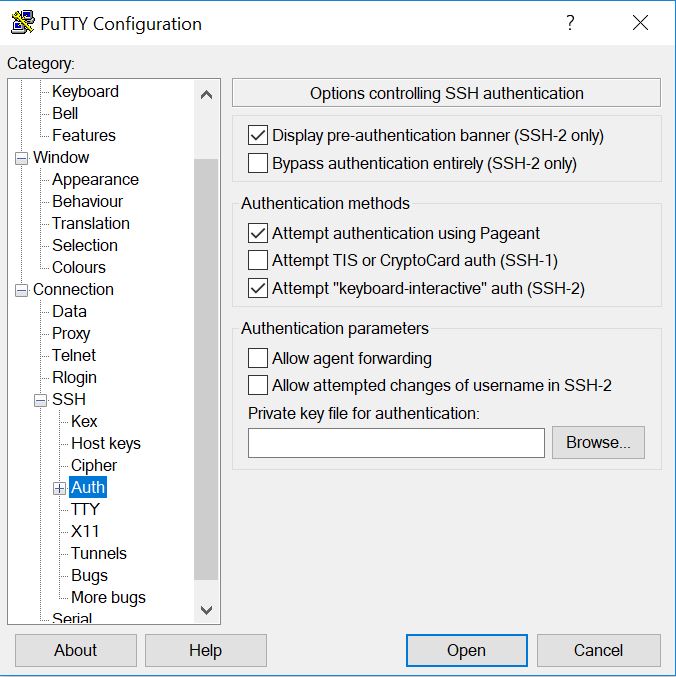
- At this point you should be able to connect to your instance. If you get an error saying your key is refused, you likely selected the wrong key.